This is the documentation for ConfiForms Server/Data Center app
However, this might also work for ConfiForms cloud and in most cases it does. But please see this page to understand the differences between server and cloud versions of the ConfiForms app.
In this tutorial you will learn how to use advanced techniques when defining validation rules.
The approach and techniques shown are valid for all type of fields, not only dates as in the tutorial.
If you are new to ConfiForms, please take a few minutes to read the Basic concepts Guide, or go through the video tutorial on that page.
Quite often, when having fields to keep 2 dates, you need to have some kind of a relationship between these fields.
Like, ensuring that "End Date" field is after the "Start Date" field, for example.
This validation is possible to automate in ConfiForms by using the "ConfiForms Field Definition Rules" macro and using it's "Action" selected to "Validation Rule"
If you need to have 2 dates together consider using "Date Interval" field type in ConfiForms. Very useful when used in ConfiForms CalendarView
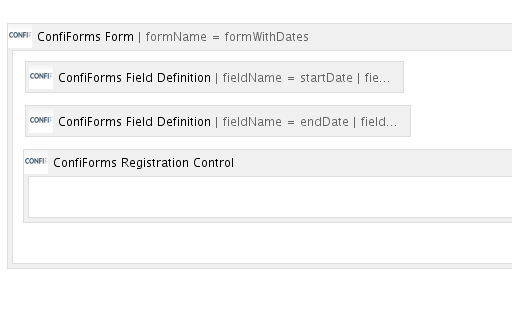
Let's start with a simple form.
Just 2 fields, both of time date
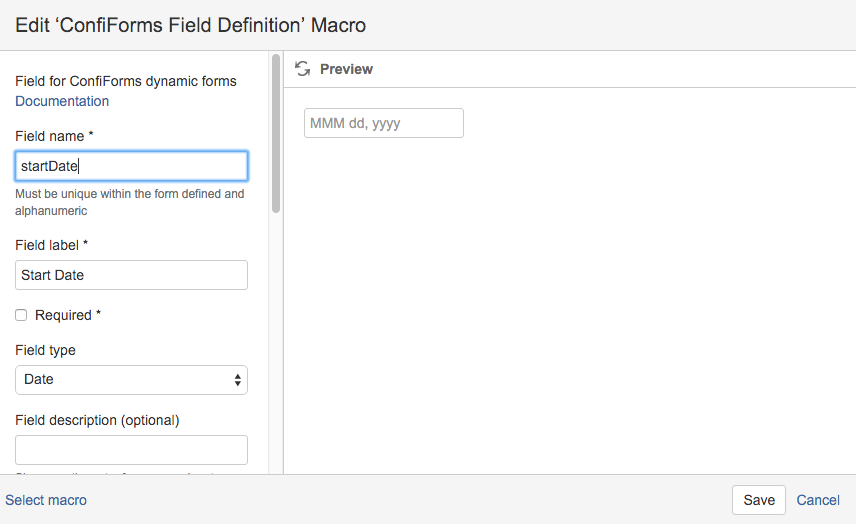
The configuration for fields is straightforward:
Same for "endDate"
So the form looks like this on the page:
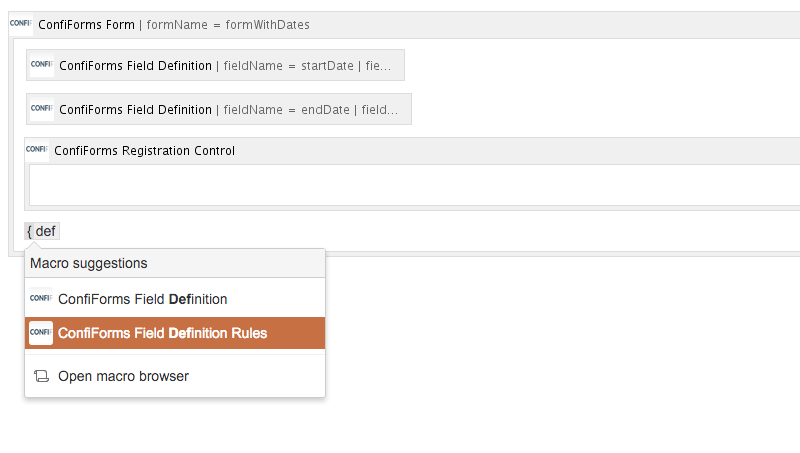
It has no validations so far... and we gonna add one:
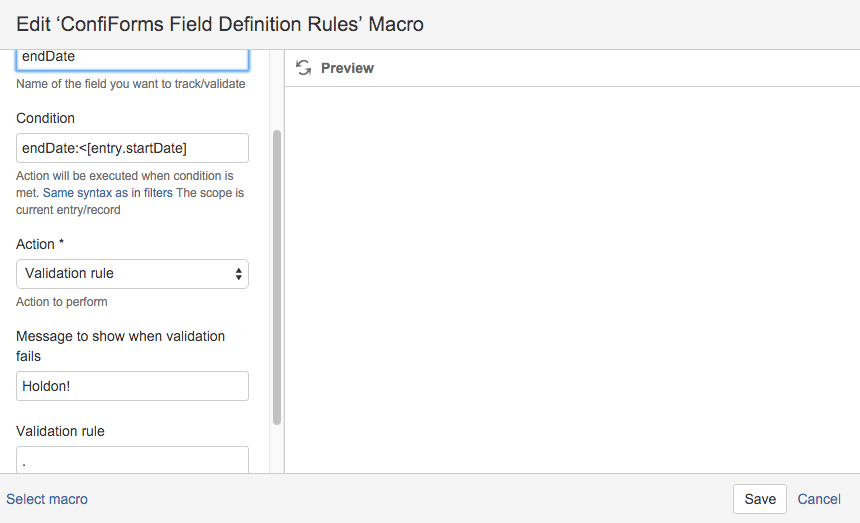
The important bits are in the screenshot below:
Explanations:
- we set up this rule to execute on the "endDate" field
- the condition is set to be dynamic, meaning that it will get the value for "startDate" field from the current record and will compare it with the value of "endDate"
- Message is set to be "Hold on!"
- And the most important bit here is to add a validation rule when condition is met, and that is "." which will match anything.
- This means that when the condition is met, and endDate is before the starDate then run the validation rule which will match ANYTHING (as . in regular expressions matches anything). The message will be shown. When condition is not met the validation rule is not executed... and the message will not be shown (the record will be valid)
That's it. It is true that it has a small trick, but here is the hint:
Define a condition that when met will mean the data is not correct and add a validation rule to match everything (using dot ("."), without brackets and quotes) to fire the match and show the message to user
Storage format (configuration) for the whole solution:


