Creating forms in Confluence with ConfiForms is very easy.
All you need is to define the form on the Confluence page using ConfiForms Form Definition and add ConfiForms Field Definition macros inside form definition macro body to define the fields.
You may also define the behaviour of your form using ConfiForms IFTTT Rules macro.
See more in these tutorials
- How to create a form to create a Jira issue from Confluence
- How to create a form to send emails
- How to create a form to send SMS messages
In this tutorial we create a simple form with just one text field to demonstrate the basics
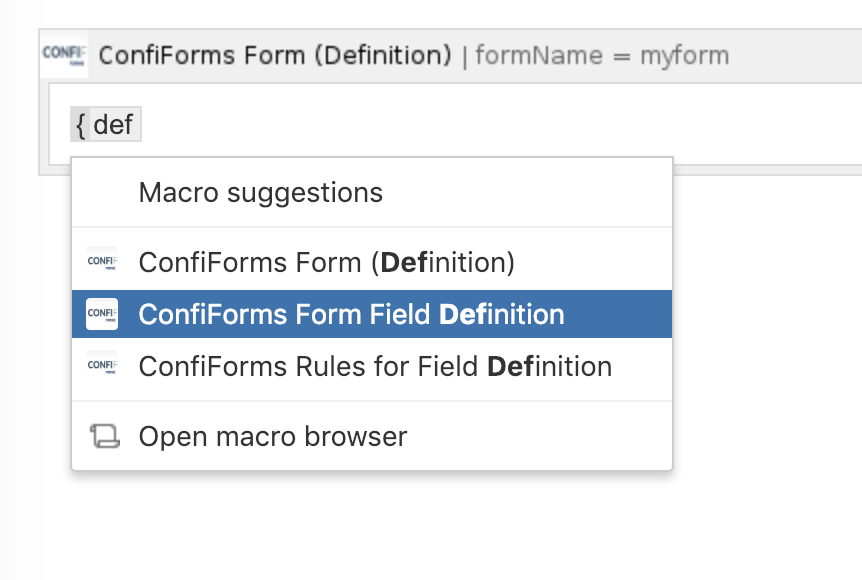
- Create a page in Confluence and add ConfiForms Form Definition macro

- Give your form a name

- Define a field
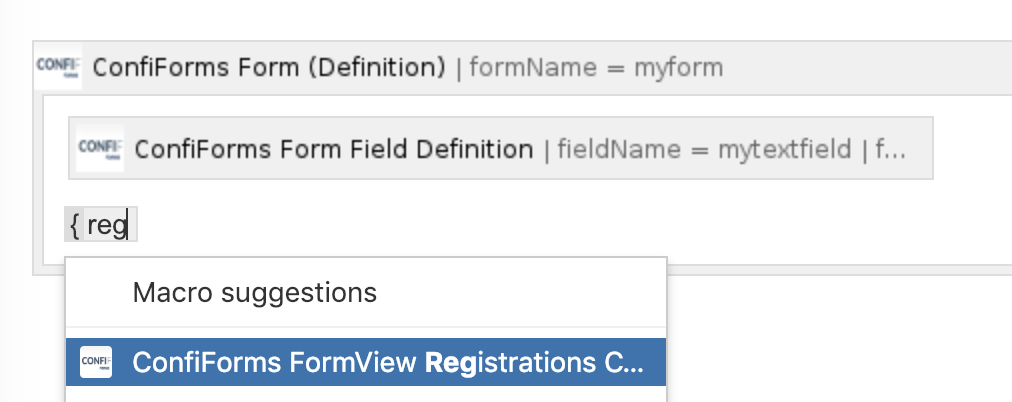
- Give your field a name and title

- Leave field's type as "Text" and click on "Insert" button

- Add "ConfiForms Registrations Control (FormView)" macro to render the form view and enable registrations to this form
- Form name shall be the same as in your Form Definition. This macro can be inside the CofniForms Form Definition macro, as well as outside. Can be on the same page, but can be on the different (even in a different Confluence space)
In this example, we have it on teh same page and we can omit the "Page name where the form is defined" parameter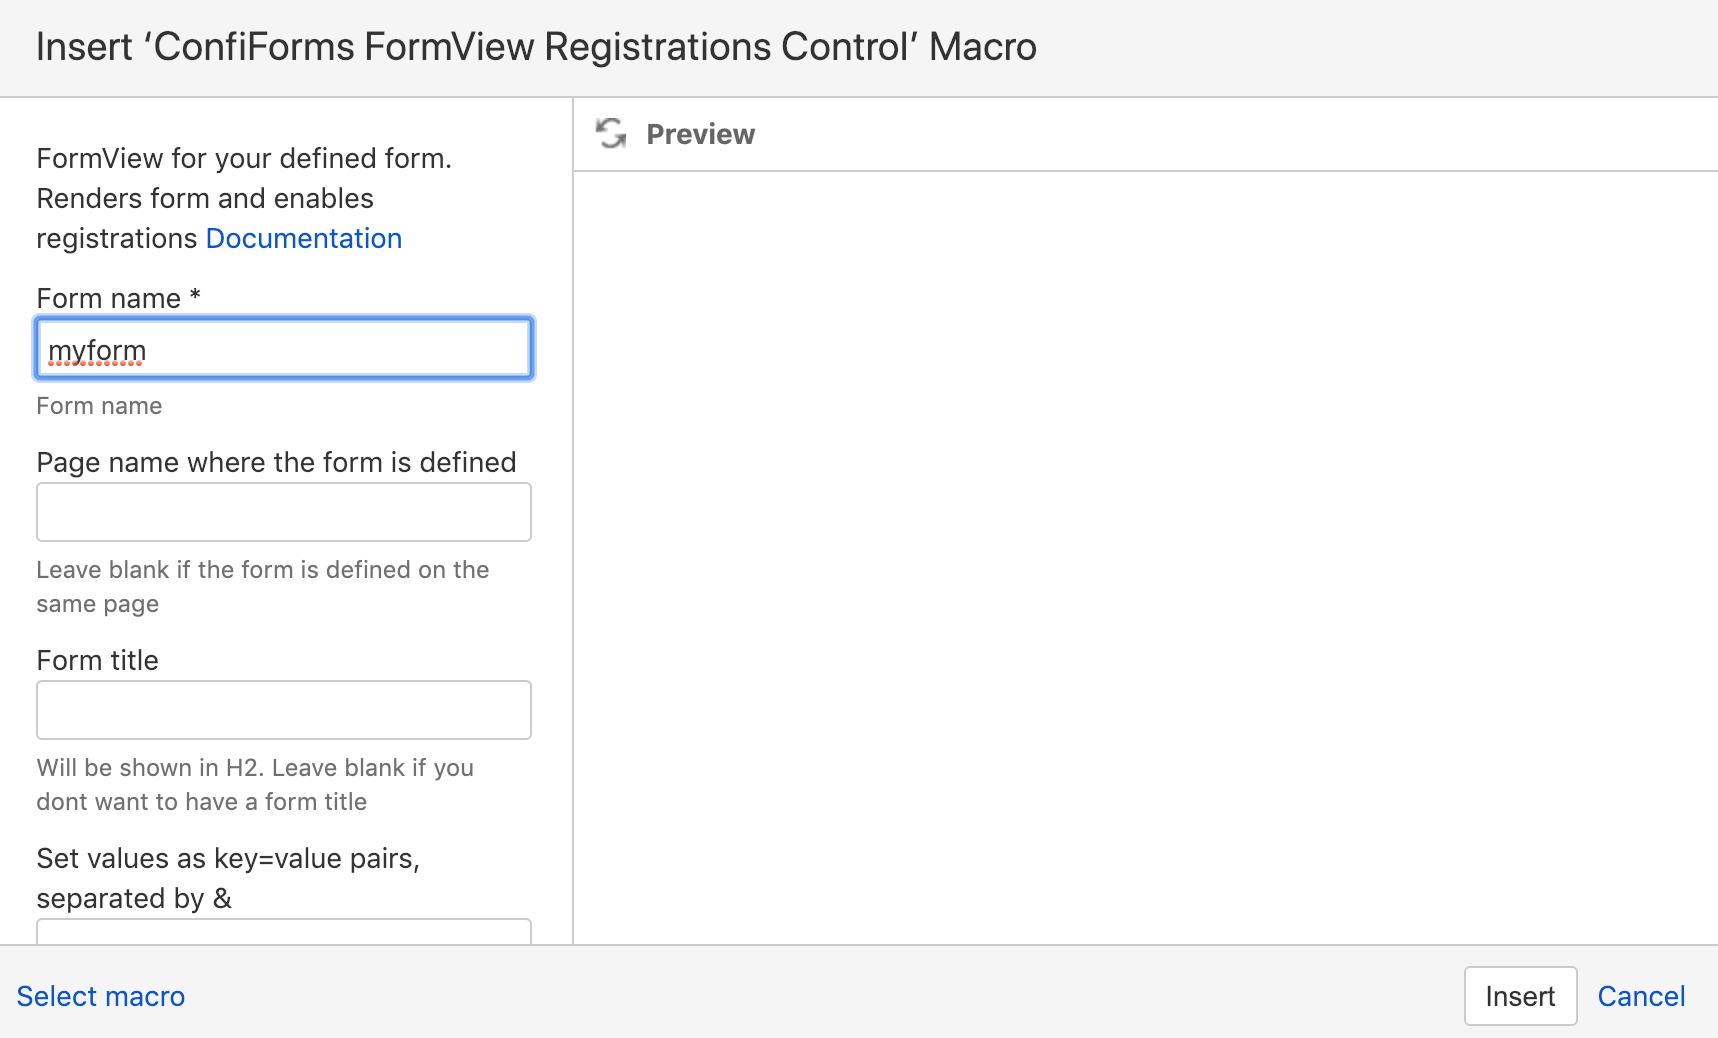
- Click on "Insert" button
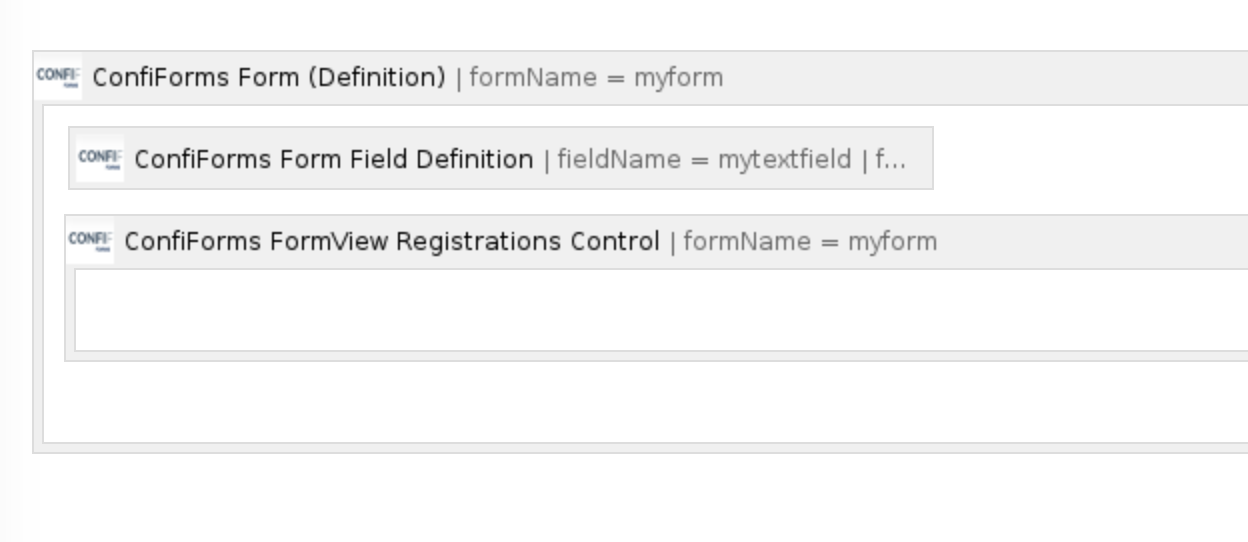
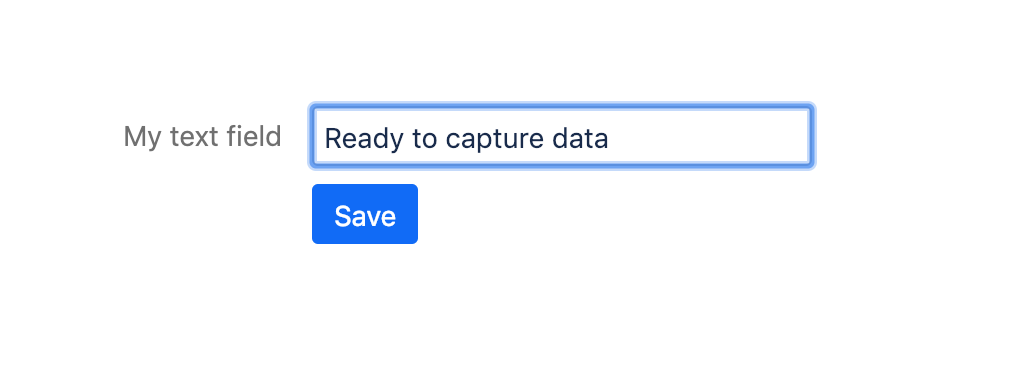
- Now you can save the page and will see something like this

There is an "Admin UI" created for your to help you to see the data stored. as well as the form view. "Admin UI", the one with the cog wheel and label "Form: myform" is visible only to the form administrators - users who have edit permissions on this page. It is not visible to ordinal users of your form - Now you can start capturing the data with your first form
- That's it! The simple form is created!
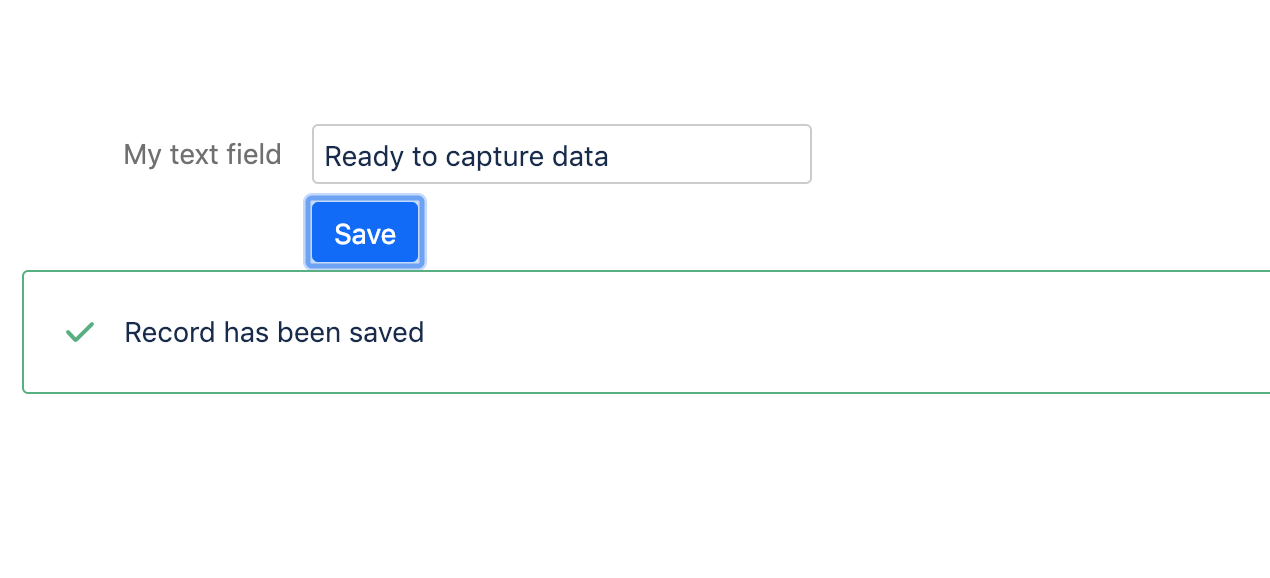
- You can change the default as you like: altering the caption for "Save" button, changing the message, adding form title and changing the behaviour after the form is submitted
- See how you can show the captured data: How to show the data stored with ConfiForms
Give your authors a helping hand by using templates in your documentation space. You will need Space Administrator permissions to create templates.
To create a template:
- Go to "Space Tools" in the sidebar, select "Content Tools" and create a new template.
- Click "Page Layout" and add sections and columns to your page.
- Add headings and sub-headings as needed.
- Choose "Instructional Text" from the "Template" menu and add text that is only visible in the editor.
- Save your template.
Your template will become available in the Create dialog for this space.
Related pages
| Content by Label | ||||||||||||||
|---|---|---|---|---|---|---|---|---|---|---|---|---|---|---|
|
...
| title | Useful hint |
|---|
...