This is the documentation for ConfiForms Server/Data Center app
However, this might also work for ConfiForms cloud and in most cases it does. But please see this page to understand the differences between server and cloud versions of the ConfiForms app.
In this tutorial we will create a data entry form with our own, custom design, using ConfiForms plugin for Confluence
You will also learn how to show the data in a sorted way using ListView and creating custom layout for form's data presentation
If you are new to ConfiForms, please take a few minutes to read the Basic concepts Guide, or go through the video tutorial on that page.
As usual, let's start with form definition.
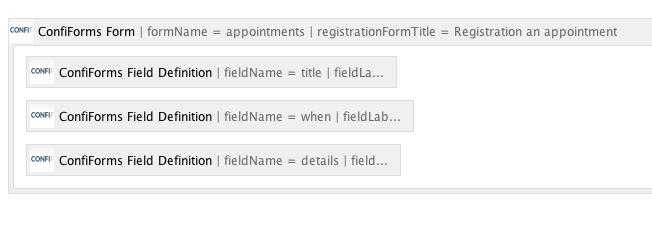
2 base macros are used to define the form: ConfiForms Form (Definition) and ConfiForms Field Definition.
As an example, we will build a quick form to register an appointment
We create a form with 3 fields:
- title - of type text to define an appointment title
- when - of type datetime to define the time and date when appointment happens
- details - of type textarea to track any additional details
Here is the screenshot on how this looks like in the editor:
We are done with form definition!
Now we need to configure how the form should look like
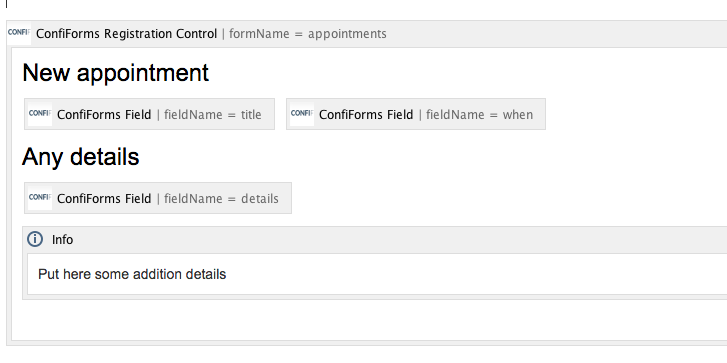
This is done using the ConfiForms Registration Control
It defines how the form looks like: is it embedded to the page or shown as a dialog. Is it uses the standard layout or own.
We go with own layout and will show the form embedded to the page.
Each defined form could have unlimited number of registration controls, and that means you can show the same form differently depending on your requirements. And you can place ConfiForms Registration Control macros on any page/space.
If you leave ConfiForms Registration Control macro body empty then the standard layout will be used to present form fields. But we go with custom layout this time.
This is done using ConfiForms Field macros. And these needs to be added to ConfiForms Registration Control macro body.
You can place them the way you need, encapsulate into tables or other UI elements. The main point is that you have at least one ConfiForms Field macro defined in the body of ConfiForms Registration Control macro.
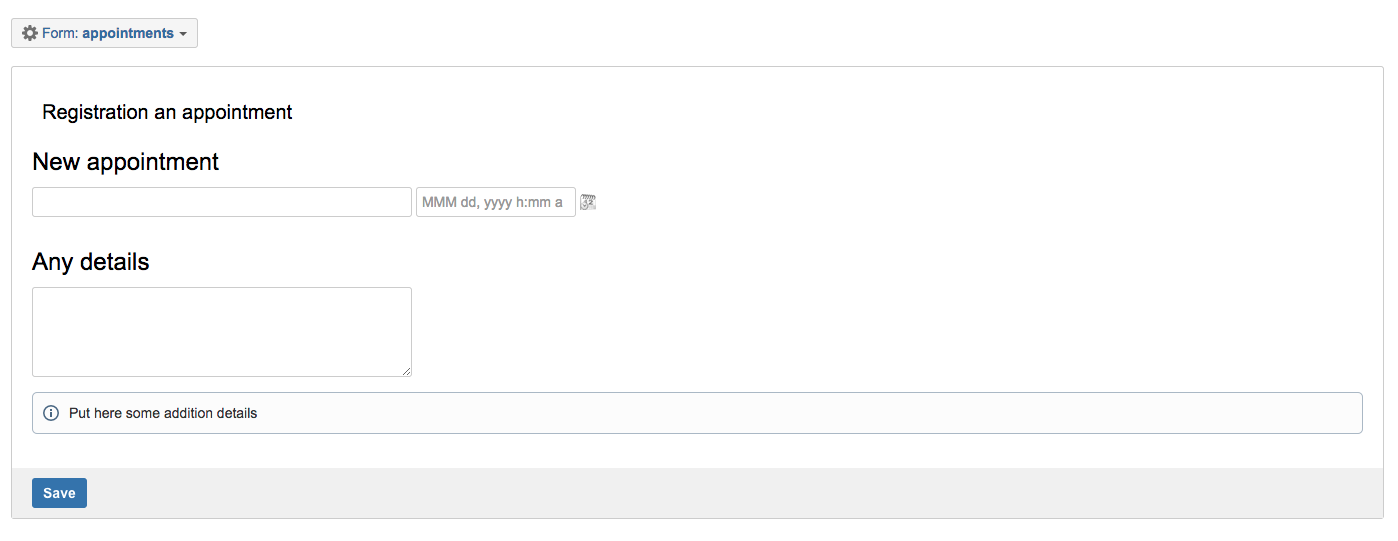
And here is how the form looks like on the page
That's it! You have just finished with creating a ConfiForms form with own custom layout!


