This is the documentation for ConfiForms Server/Data Center app
However, this might also work for ConfiForms cloud and in most cases it does. But please see this page to understand the differences between server and cloud versions of the ConfiForms app.
Please note that this tutorial works with ConfiForms version 2.0.15 and onwards
You can see a discussion on Atlassian community and more details on how to setup this to work with other tabs add-ons here https://community.atlassian.com/t5/Confluence-questions/Confiforms-Tabbed-View-in-Dialog-Mode/qaq-p/975906
Please be aware that this tutorial assumes that you have support for JavaScript functions enabled in ConfiForms settings!
This tutorial is not guaranteed to work with any version of Refined UI toolkit plugin, as it relies on specific version of Refined UI toolkit (verified to work with 2.3.5)
Often, the forms you develop become very long and complex and using tabbed view, and grouping fields together in logical sections might be a good idea.
ConfiForms works well with Navitabs and Refined Toolkit UI tabs when used on embedded forms, but was not working very well when used with forms in dialog mode.
The reason is - all the mentioned plugins work on page load and initialize own components when the page loads. With ConfiForms a lot of contents is loaded dynamically and on demand. Including the forms in dialog mode.
This tutorial demonstrates how you can setup a form in dialog mode with Refined Toolkit app.
We will setup a form with just 2 fields, showing each field in a different tab and we will also add support for "Edit Controls" to use the same layout as in default Registrations Control (FormView) macro. Meaning, we will have the same tabbed view of the form when editing the records
Form configuration
Form with just 2 fields
- text field
- text area field
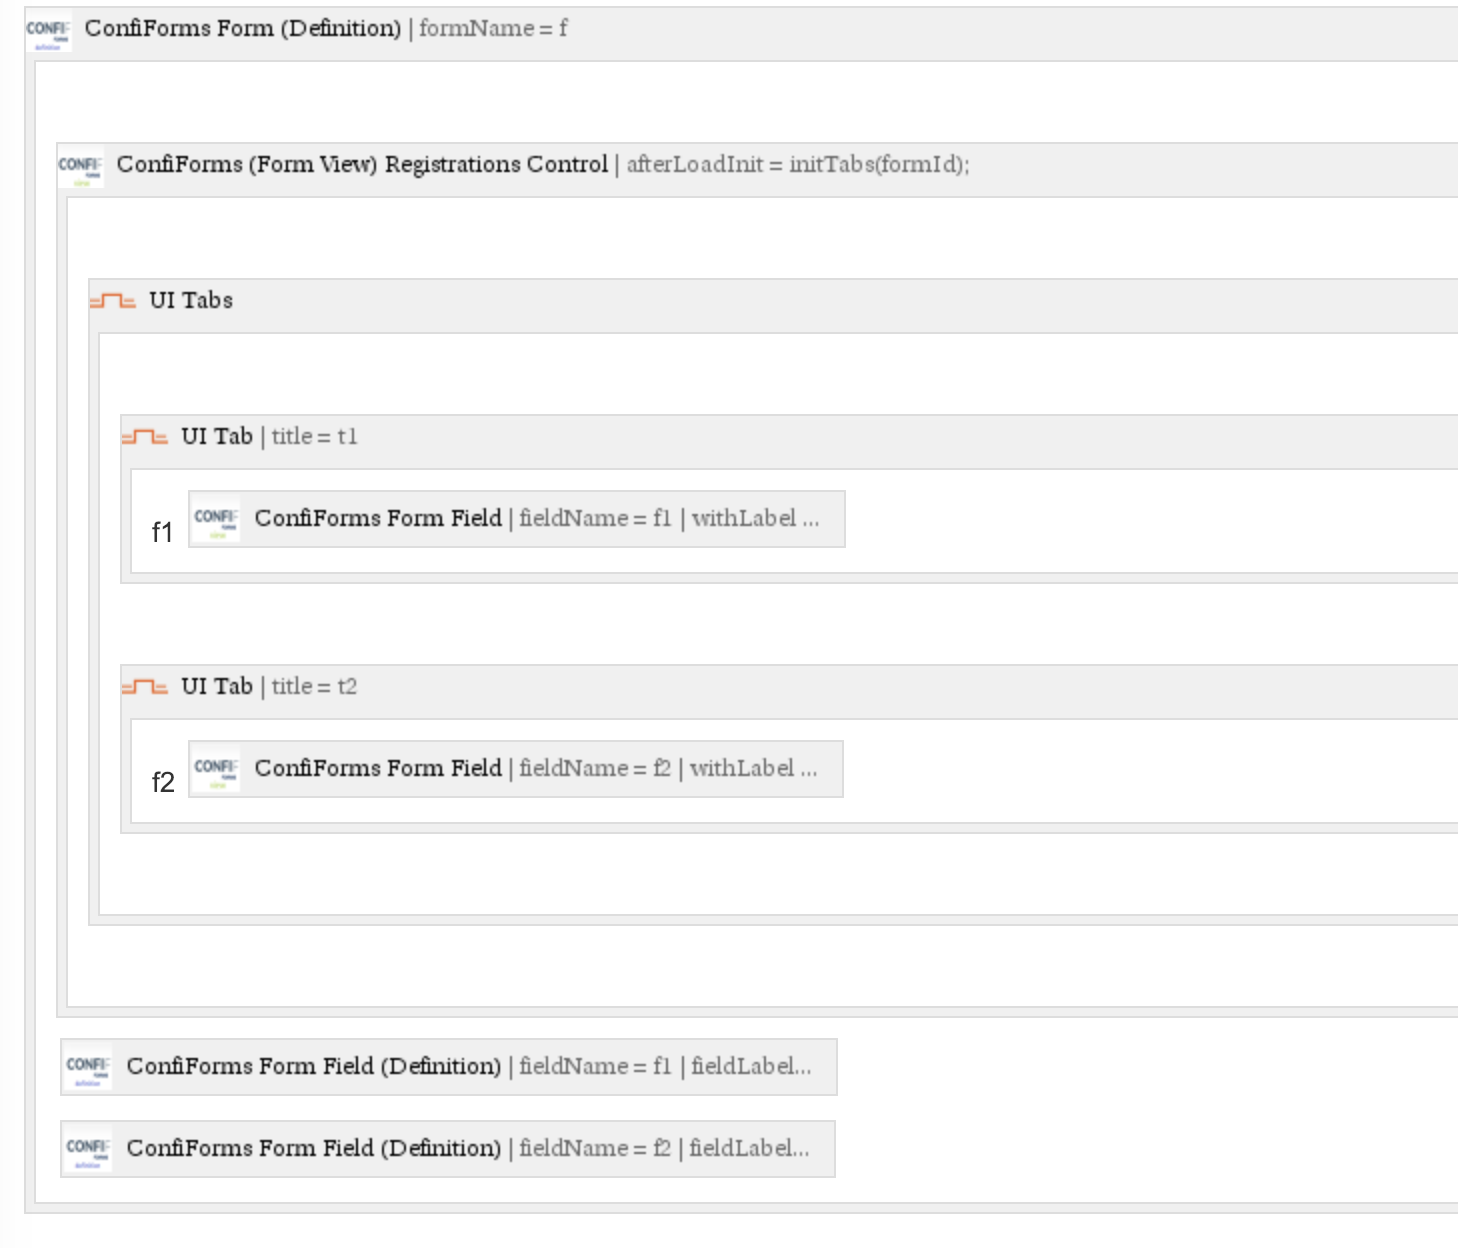
Form configuration view in Confluence editor
We define 2 fields and we also define default Registrations Control macro with tabs around each field
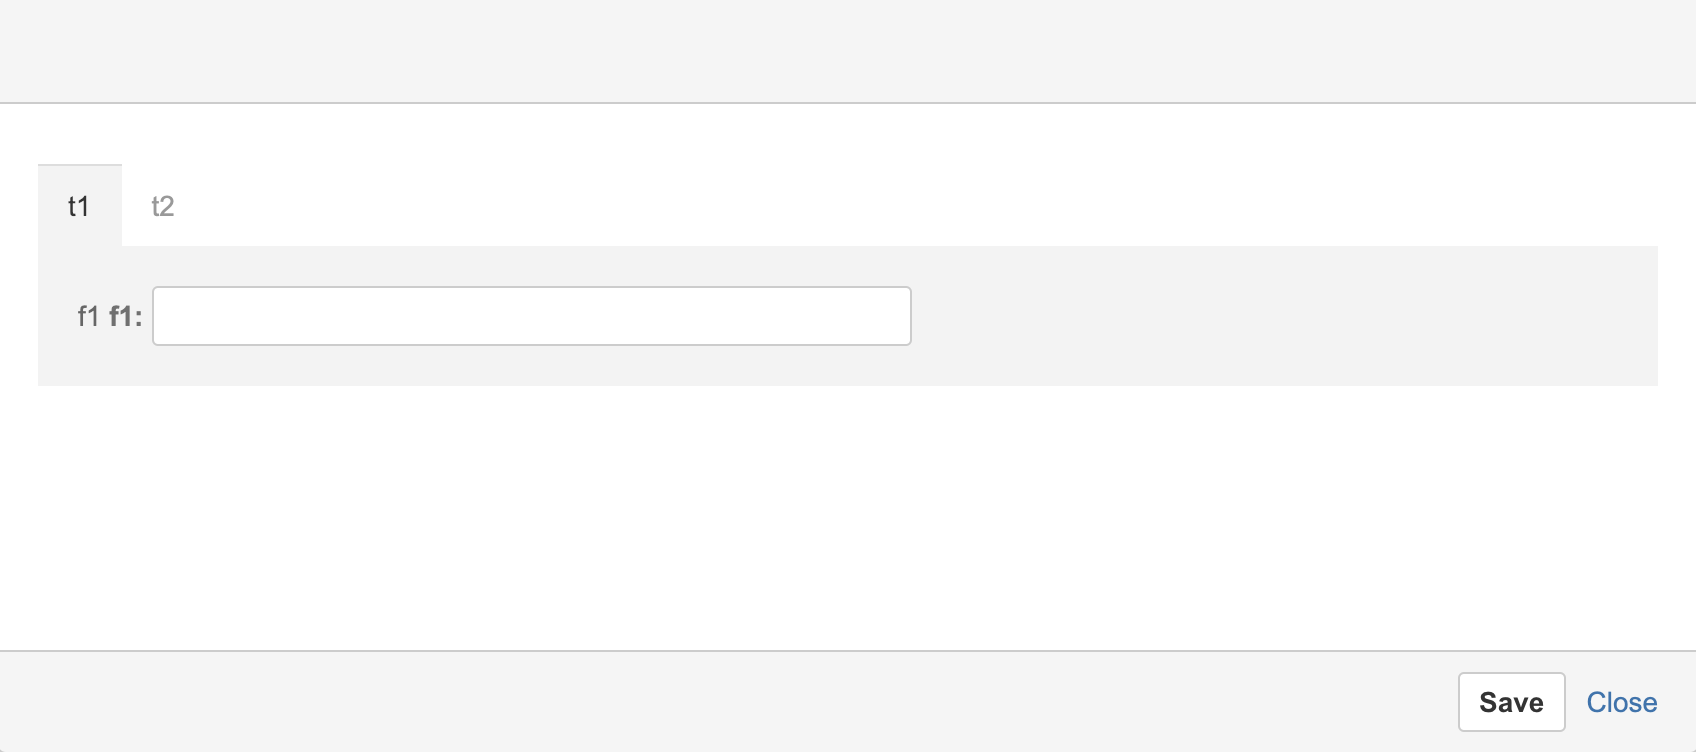
Registrations Control (FormView) macro uses default mode and renders the form in dialog mode when a user clicks on "Register" button
This is how the form looks in view mode after user clicks on "Register" button
Forcing tabs to re-initialize
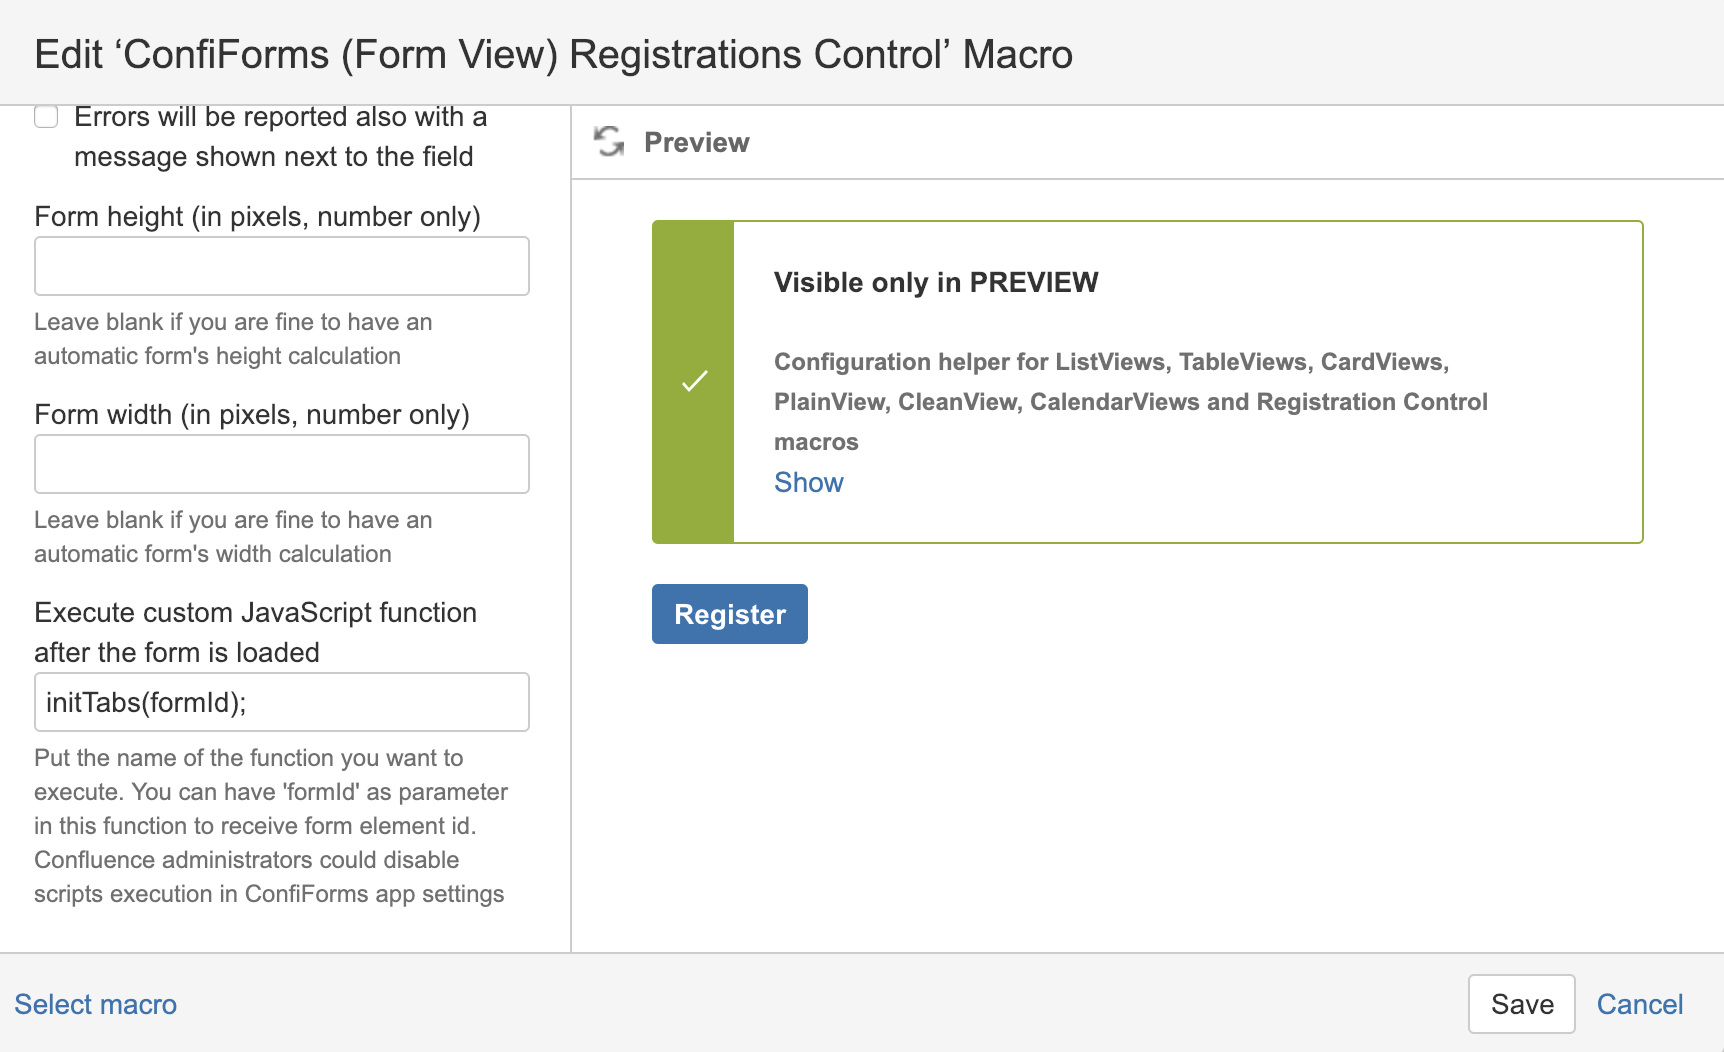
So, what is the trick? The trick is to use post-initialization function of ConfiForms Registration Control
We call the function initTabs and set it up like this in the macro parameters
Here is how the function (initTabs in our case) looks like and what it does (you will need to put it on the page with HTML macro, for example)
Verified to work with https://marketplace.atlassian.com/apps/1211136/refined-toolkit-for-confluence?hosting=server&tab=overview 2.3.5
In older versions of Refined UI toolkit you may need to replace
RWUI.Templates.Tabs.tabButton
with
RWUI.Templates.Macros.tabButton
<script type="text/javascript">
function initTabs(formId) {
  if (typeof RWUI === "undefined") {
    console.error("RWUI namespace was undefined, ensure that base.js has been loaded")
  }
  RWUI.Views.UI_Tabs = Backbone.View.extend({
    render: function () {
      var tabMenus = AJS.$("#" + formId).find(".rwui_tabs_menu", this.$el);
      var tabItems = AJS.$("#" + formId).find(".rwui_tab_content", this.$el);
      var e;
      var reArrangeClasses = function (i) {
        var h, g;
        if (/^tab-.*$/.test(i)) {
          h = tabItems.filter("[data-hash='" + i + "']");
          g = e.filter("[data-hash='" + i + "']")
        }
        if (h === undefined || h.length === 0) {
          h = tabItems.first();
          g = e.first()
        }
        tabItems.removeClass("rw_highlight");
        e.removeClass("rw_highlight");
        tabItems.removeClass("rw_active");
        e.removeClass("rw_active");
        h.addClass("rw_active");
        g.addClass("rw_active");
        if (typeof RWMI != "undefined" && RWMI.mobileMode) {
        } else {
          window.location.hash = i
        }
      };

      tabItems.each(function (index, k) {
        var l = AJS.$(k);
        var g = l.data("name");
        var m = l.data("hash");
        var j = AJS.$(RWUI.Templates.Tabs.tabButton({name: g, active: index === 0, hash: m}));
        j.click(function () {
          reArrangeClasses(m);
        });

        // remove existing by hash in case of any
        var tabEl = AJS.$("#" + formId).find(".rwui_tab_button[data-hash='" + m + "']");
        if (tabEl !== null && AJS.$(tabEl).length > 0) {
          tabEl.parent().remove();
        }

        tabMenus.append(j);
      });
      e = AJS.$("#" + formId).find(".rwui_tab_button", tabMenus);
      var f = window.location.hash.substr(1);
      reArrangeClasses(f);
      var d = AJS.$("#" + formId).find(".rwui_tab_button[data-hash='" + f + "']", this.$el);
      if (d.length > 0) {
        d.addClass("rw_highlight");
        AJS.$("#" + formId).find(".rwui_tab_content[data-hash='" + f + "']", this.$el).addClass("rw_highlight");
        RWUI.scrollToElementWithOffset(d, 100);
      }
      return this.$el
    }
  });

  AJS.$("#" + formId).find(".rwui_tabs").each(function (c, b) {
    var d = new RWUI.Views.UI_Tabs({el: b});
    d.render();
  });
}
</script>
Basically, it forces UI Toolkit to re-initialize some tabs again in our loaded form
This is a code taken from UI Toolkit initializer and modified to fulfil the needs of ConfiForms. Sorry for the variables names, we only had a minified version of this code.
Using tabbed view in Edit Controls
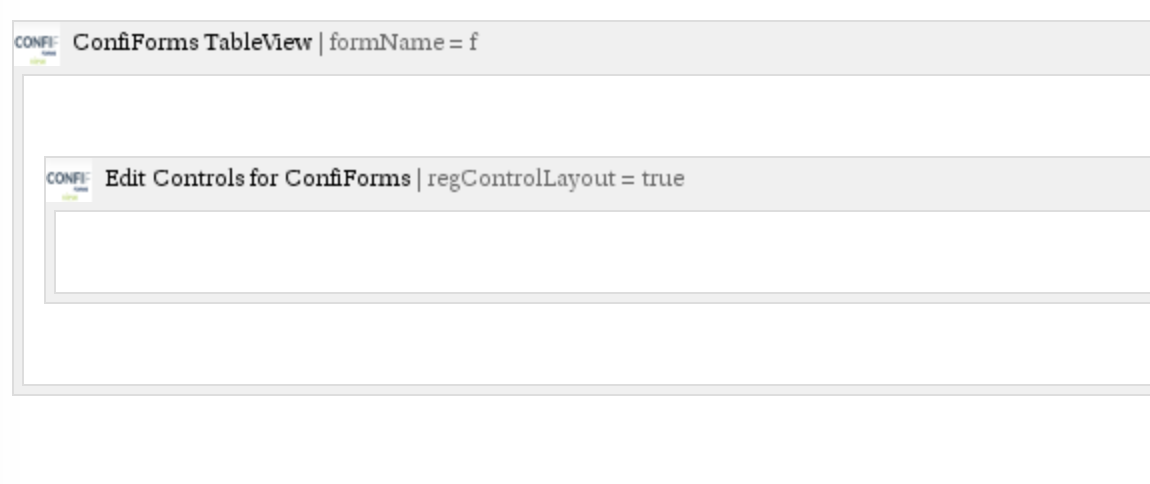
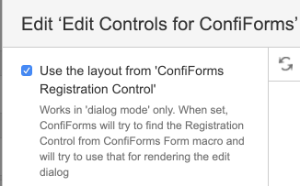
To have your edit controls to use the tabbed view you can do a very simple trick. You just need to tell ConfiForms Edit Controls to use the layout of the Registrations Control (FormView) macro
In macro parameter for Edit Controls macro this looks like this
